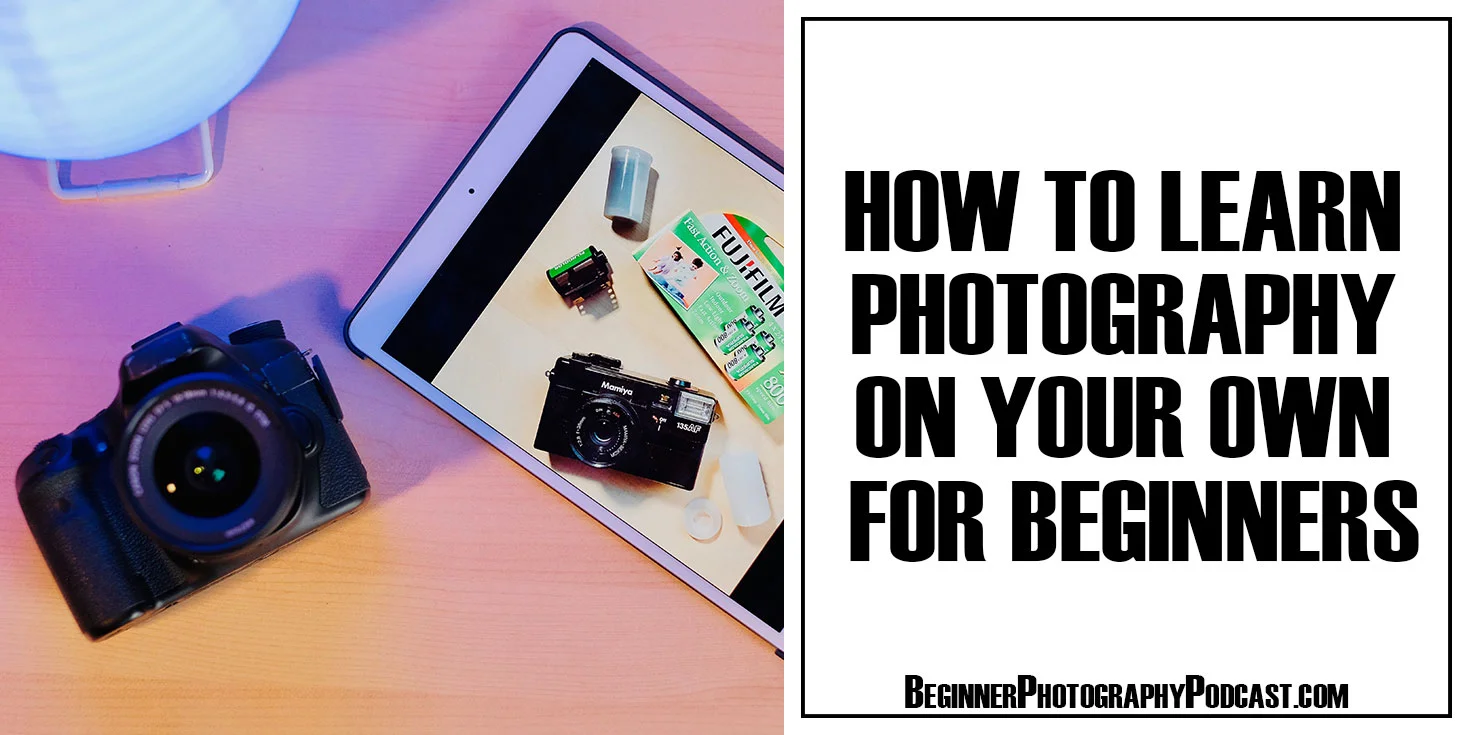
If you have ever wondered how to learn photography on your own online and master your camera, this will your perfect beginners companion.
It does not matter what kind of photography you want to shoot, Family, Seniors, Landscapes, Nature, Weddings, this will be the guide for you. As a professional wedding photographer and host of the Beginner Photography Podcast I get to talk with the world's best photographers in their field, weekly and can tell you first hand that beginners need to have a strong understanding of the fundamentals of how a camera works and sees light regardless of what subject you want to shoot. This is exactly why I created this guide. So you can learn and understand the basics and take start to take better photos!
I can tell you that no matter the reason why you want to learn photography, once you do you will be able to take the kind of photos you see online and in magazines that your friends, family, and social media will love. So let's get started.
Disclaimer: This article has affiliate links and if you decide to purchase any of the products listed, I may receive a commission.
Why Learn Photography?
On top of being able to capture some of life’s most important memories to relive and share decades later, because of the internet and social media we have an increasing need for photo content. The world wants to see more photos, the world wants to see your photos. But not just any photos! It's essential that through practice you develop your skills to see a scene with your eyes and. Will it be easy? No but you are here for me to teach you the basics of photography to improve your camera's storytelling abilities.
Can you learn photography on your own?
Absolutely! The internet has brought the world's best photographers and best minds together in one place. No matter what kind of photography or question you have you can find the answer online. Want to know about the inverse square law and why it’s so important to mastering flash photography? You can find the answer online. Want to know the basics when adjusting your settings when photographing a newborn? You can find the answer online. Anyone can learn photography! This article is geared towards those who want to learn photography with a DSLR. If you want to learn photography with a smartphone and without a camera check out this photography book full of tips and images and creative ideas for your photos from Beginner Photography Podcast guest, Mark Hemmings.
Click here to check out iPhone Photography for Dummies by Mark Hemmings
Where to start with photography:
Simply put, with Lighting. Photography and your images, in its simplest form, is just a record of light. Your camera is set up to do 1 basic thing. Control and adjust the light that enters the lens to create an exposure.
Click here to check out the 5 Essential Pieces of Gear Every New Photographer Needs
Exposure:
How much light is exposed to the sensor of the camera. Expose too much light and the photo will be too bright. Expose to little light and the photo will be too dark.

From left to right. 1 Stop Underexposed - Properly Exposed - 1 Stop Over Exposed
How to control Exposure:
Every photo ever taken (even in the 1840s) used the same 3 settings to control exposure that we use today and they make up the Exposure Triangle. Today cameras have many smart shooting modes and features. The most helpful to new photographers is Automatic mode where the camera reads the amount of light coming into the camera and then adjusts settings to properly expose the image. However smart the camera is, it does not know the different situations you may be shooting in. From a portrait photoshoot to landscapes to sports, each situation has key settings that the camera needs to prioritize. But it's not until you are in full control of your camera's settings that you truly unlock the power of your camera.
Aperture:
Aperture the first of the 3 settings in the Exposure Triangle and is a in your camera’s lens. Aperture controls the amount of light allowed to pass through the lens. On top of controlling light, Aperture also dictates your depth of field, or how much is in focus.

The lenses aperture is listed on the front as 2.8

An aperture of f1.4 offers an extremely shallow depth of field leaving the background out of focus. Notice how your eye goes right to the first train.
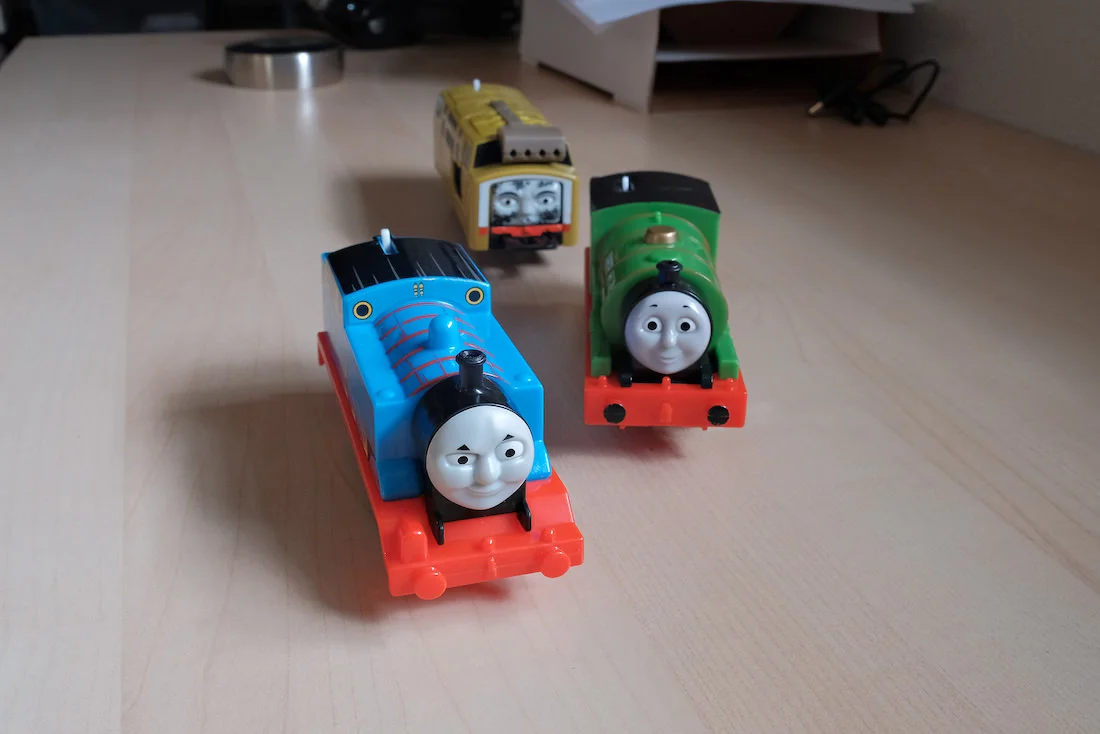
An aperture of f22 offers a deep depth of field which leave the background in focus. Notice how your eye bounces around the photo including the distracting background elements.
Shutter Speed:
Shutter speed is the second piece of the Exposure Triangle and controls how long the light coming in the lens will expose the sensor. The longer the light is exposed to the sensor the brighter the photo will be, but if the shutter speed is open too long you will get motion blur on your photo. This is best fixed with the next piece of the Exposure Triangle.
ISO:
ISO is the last aspect of the Exposure Triangle and controls your camera's sensitivity to the amount of light the comes through the lens. In bright sunny conditions you can use a low ISO since there is plenty of available light and you wont need to artificially boost your camera sensor sensitivity. In low light use a higher ISO like 1600 to amplify the light.
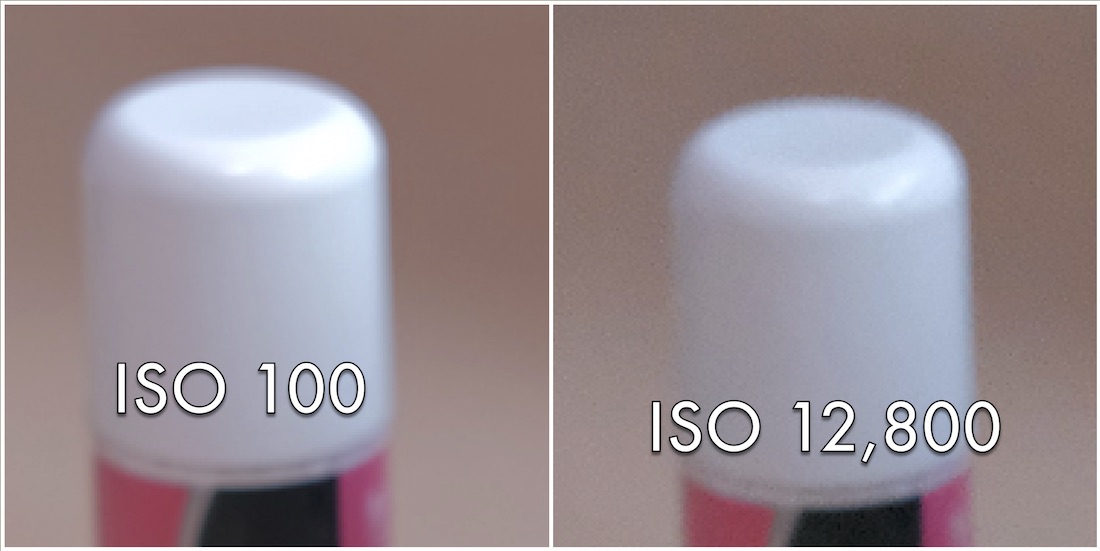
A Higher ISO results in reduced image quality and high levels of digital noise.
What is a good exposure:
Good news, a good exposure is subjective and up to you! Remember photography is an art and you are the artist. If you are happy with how bright or dark your photo is, the exposure is good. Technically speaking though a good exposure will not have elements that are so bright they just appear white in the photo, or have elements so dark they have no information in the file.
How to Shoot in Manual:
Once you understand how these three settings affect your photos, you will be prepared to shoot in manual mode! That's right, shooting in manual mode is just being in control of your Aperture, Shutter Speed, and ISO. If your photo isn’t turning out how you would like, changing one of these 3 settings will let you achieve the look you want! Here is my simple 3 step process for learning to start shooting in manual mode.
What is Depth of Field: The Magic Maker
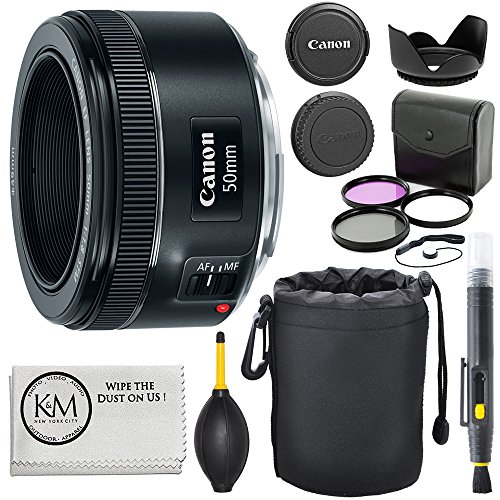
Depth of field refers to how much of your photo is in focus. This is what is responsible for when your subject is in focus but the background is out of focus. Depth of field is not a setting or a button it is a byproduct of having a large aperture. Typically an aperture of f2 or f2.8 will be large enough to create a shallow depth of field. If you want a deep depth of field where everything is in focus like most landscape photography then you will want a smaller aperture like f11 or f16. My best advice to buy yourself a Nifty Fifty 50mm 1.8 lens. They are cheap and have a large f1.8 aperture to get beautiful out-of-focus backgrounds.

White Balance:
Our eyes are really good at knowing what is white. Cameras on the other hand, not so much so we have to tell them. White can either have a blue or orange tint to it. Adjusting our white balance tells the camera exactly what white is resulting in all other colors being accurately portrayed. Your camera has preset white balance settings. When shooting in RAW, the white balance can be adjusted in the editing process. When shooting in jpg or shooting video like Sense, a video production company in Dubai white balance is more important to get right in camera as theres less information to edit from in post.

White Balance from left to right: Too Cool, Just Right, Too Warm
Focal Length:
Camera lenses come in different focal lengths. The focal length is the magnification power of the lens. A 200mm focal length is considered a telephoto lens because it can see far away. A 24mm focal length is a wide angle lens used for when you want to capture a lot in the frame.

24mm Focal Length is wide enough to get a large view of the church and its environment.

135mm Focal Length lets you stand further back and still get a good view of the action. Allowing you to stay out of the way and be able to capture candid moments up close.
Prime lens:
A prime lens has just 1 focal length. Meaning it does not zoom. Prime lenses typically have sharper image quality and have a larger aperture allowing more light to enter the lens and giving you a shallow depth of field. The Nifty Fifty shown above is a prime lens.
Zoom lens:
A zoom lens is what most people are use to. Having the ability to zoom in makes them more versatile than a prime lens and a good option for event photography like weddings.
Here is my favorite all around zoom lens for Canon Crop Sensor Cameras: See Below
Here is my favorite all around zoom lens for Nikon Crop Sensor Cameras: See Below
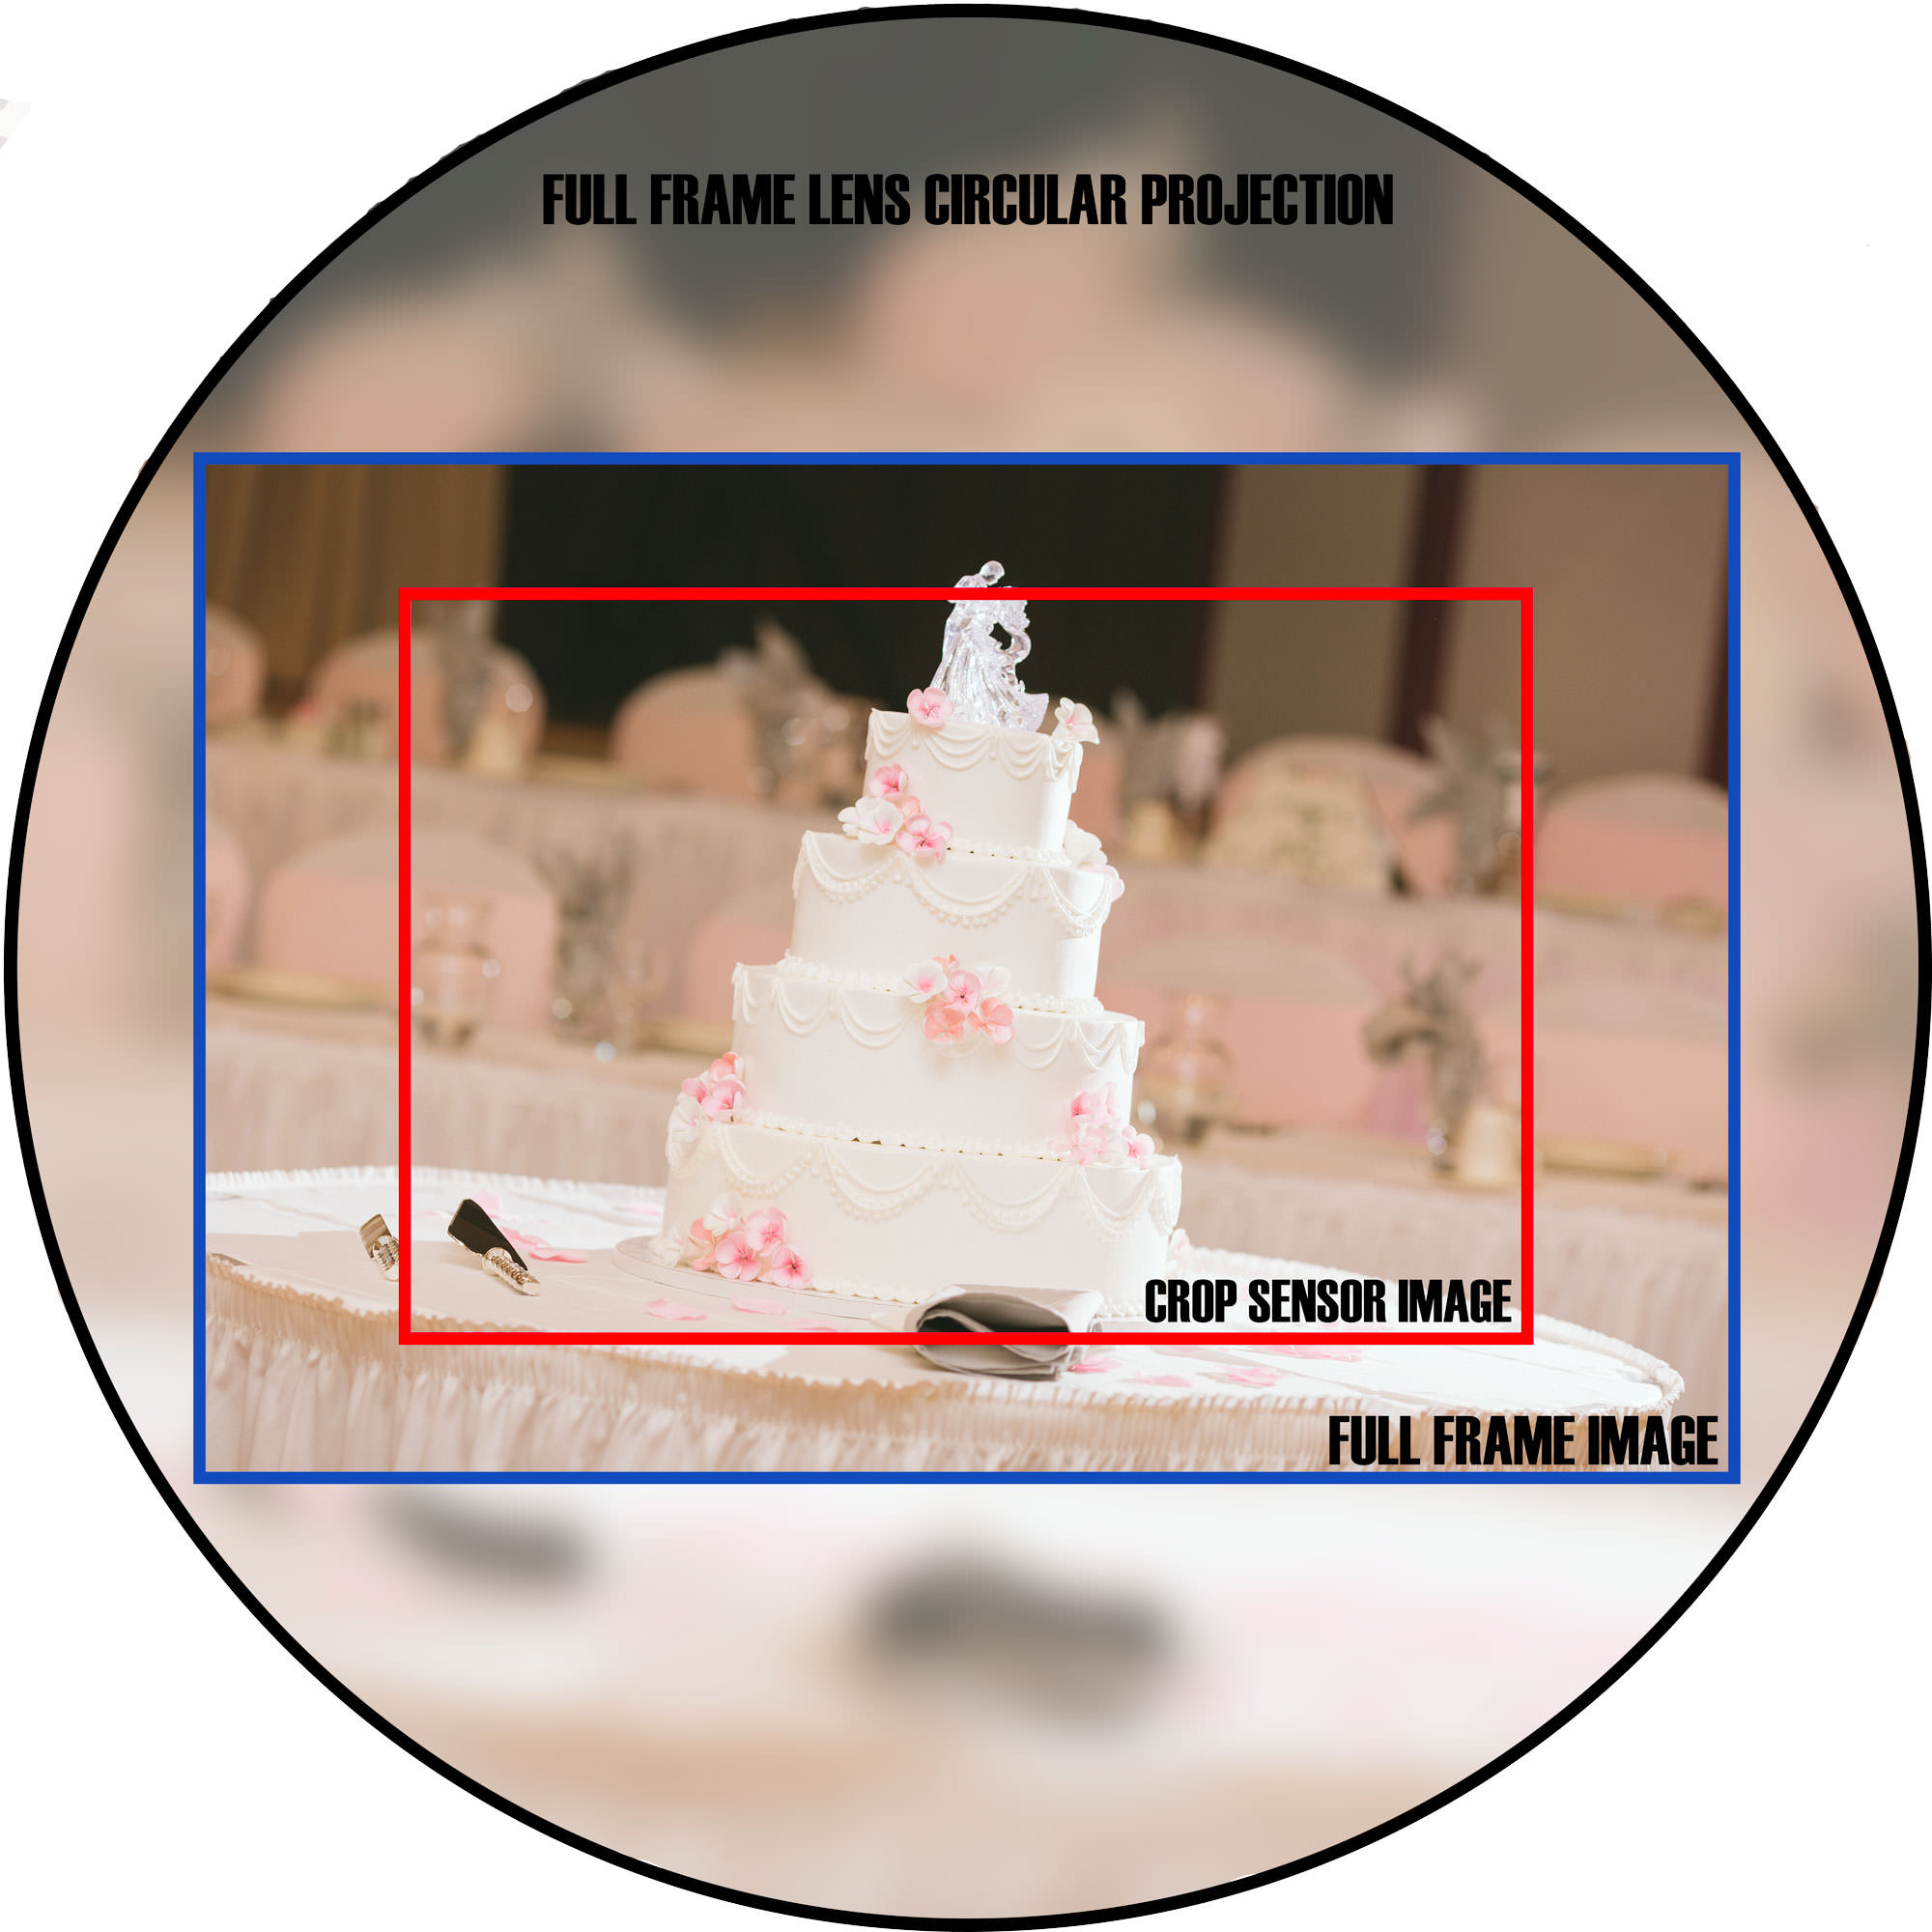
What is a Crop Sensor:
There are 2 prominent sensor sizes. Full frame and crop sensor. A full frame sensor is the same size as a 35mm piece of film which was the gold standard before digital. A crop sensor is about half the size of a full frame sensor. This makes them cheaper to produce. So unless you spend about $1500 on your camera body there is a great chance your camera has a crop sensor inside.
Using a lens designed for a full frame sensor on a crop sensor creates something called “crop factor”. Since a crop sensor is smaller than a full frame sensor it will produce an image that looks zoomed in or cropped compared to a photo with the same lens taken on a full frame sensor.
So a Nifty Fifty 50mm lens will have the same field of view is a 75mm lens on a crop sensor.
RAW:
RAW is an image file type. You may have heard of JPG’s before (pronounced J-Peg). A JPG is also an image file type. The main difference between a RAW and a JPG is that a RAW file contains all the raw image data from the sensor and a JPG is a compressed image file with no additional info that can be extracted in editing.
I highly recommend everyone with a DSLR start shooting in RAW so they can have access to the additional file information which will be extremely beneficial when it comes time to edit your photos.

RAW / JPG Straight out of camera. The photo was not only over exposed but the white balance was too warm.

Edited RAW file. Much better exposure and white balance is achievable in editing because RAW files have so much more data.

Edited JPG. The photo was so overexposed that there was no detail in the highlights to recover in editing. Note all of the girls hair is much more red
Composition:
Now that you know some of your camera's settings, I’m sure you are ready to go out and shoot! But knowing how to control light is only half of what makes a great photo. The other half is composition. Composition is how you compose your photograph. Where and how you frame your subject. One thing I love about composition is that in a world full of expensive photography gear, composition is a free way to really increase the quality of your shots right away!
I hope this guide helped give you a better understanding of some tips and terms common to photography.
Let me send you my popular photography ebook, Picture Perfect Camera Settings, absolutely free!
It’s filled with my own photos of different shooting situations and real-world camera settings I used to capture the images. It has been described as “a masterclass for photographers looking to learn camera settings” and I want to give it to you, absolutely free! Just fill out the form below and get instant access now!