Photo by Amy Dianna https://www.flickr.com/photos/amydianna/
You’ve been taking photos with your phone for years and now ready to start taking better photos. You got a nice camera and you’re ready to see what it can do! You put your camera in Auto mode and are quickly unimpressed with the results. You know the camera can produce great photos, you just need to learn how to get the camera to do what you want!
The answer: Manual Mode.
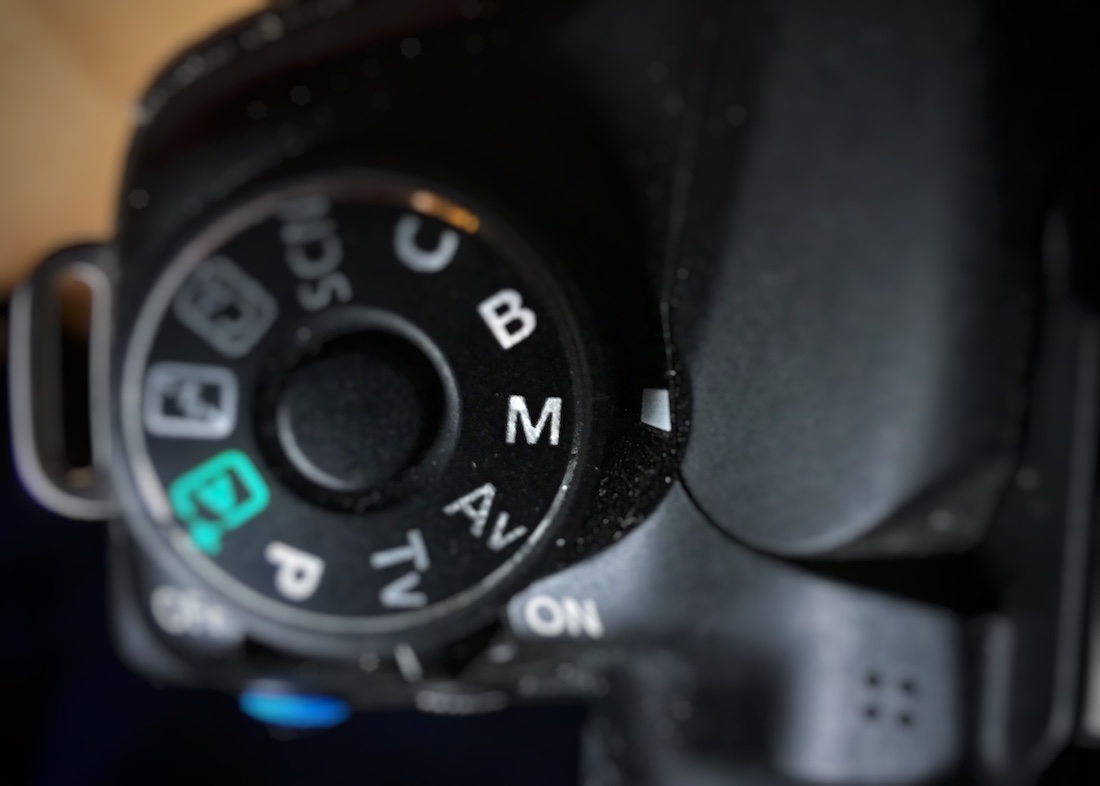
Why shoot in manual mode? In Manual mode you are in complete control of how your camera captures light and produces a photo. But it sounds scary. With all the buttons, dials, and settings it can seem overwhelming. Well today I am going to show you that it is not! In fact every photo ever taken was made by just controlling 3 settings. Aperture, shutter speed, and ISO. Once you figure those out this rest is easy, I promise. But before we get started it may help to have your camera in front of you for reference. Now let me show you how to shoot in manual mode. Let’s get into it!
I am going to get into the exact steps I use to pick my settings when showing up to every shoot but we need to talk about the settings that make up the exposure triangle. Aperture, Shutter Speed, and ISO. Aperture controls how much light enters the lens, shutter speed controls how long that light touches the sensor, and ISO controls how sensitive the cameras sensor is to the light that hits it. So knowing what each property does, we can get into figuring out how to use them! Here are the steps of how to shoot in manual.
1: Guestimate Your ISO
We know that ISO controls how sensitive your cameras sensor is to light so that’s the first setting I set. When I show up to an engagement shoot or wedding, before I take a photo I look around at the available light in the room or wherever we are shooting. If we are outside and there is plenty of light, I know my cameras sensor does not have to be super sensitive. I set my ISO to a low number. Anywhere between 100-400 depending on how much cloud cover there is. Now let’s say you are indoors and there is not as much light. You can make your cameras sensor more sensitive to light by raising your iso. Amplifying the light, producing a brighter photo. Try 800-1000. These numbers are malleable so just pick something. Guestimate. It’s important to know that the higher your ISO goes the “grainier” your photo will be so there is a tradeoff. That being said just about any camera made in the past 4 or 5 years should be able to go up to ISO 3200 before it becomes too noticeable.
2: Pick Your Aperture
Aperture controls the amount of light that comes in through the lens, but on top of that, it controls how much depth of field you have. What is Depth of Field? Well have you ever see a photo where the subject was perfectly in focus, like a flower, and the background was beautifully out of focus? Well, that’s because the flower was within the len’s Depth of Field. The background was not in the Depth of Field, so it was out of focus. Now, this is a bit of guess and check unless you have been shooting for years. So if you want a Depth of Field so thin that someone's eyes are in focus but their nose and ears are out of focus, you would choose a large aperture like f1.4 or f1.8. If you want someone's whole face in focus while still providing enough out of focus background you can choose a slightly smaller aperture like f2.8-f4. Now if you are photographing large groups of people, or nature, like landscapes or the mountains you will want a smaller aperture to ensure that more is in focus. So choose an even smaller aperture like f8-f11. Also, remember this, the smaller your aperture the less light will be allowed to enter the lens. So when you change from f1.8 to f4 you will allow more to be in focus but also your photo will be much darker so you will have to adjust the shutter speed, our last setting, to compensate. Don’t get stuck here just pick an aperture and move on to the next step.
3: Set Your Shutter Speed for a Proper Exposure.
You may have never noticed it before but there is a lightmeter built into your camera that will tell you exactly where to set your Shutter Speed. The lightmeter is located in your viewfinder and it looks like this.

Right in the middle you will see a 0, to the left you will see a -1,-2,-3 and on the right you will see a +1,+2,+3.
It is important to know how to read the meter. Adjusting your shutter speed to where the meter says 0 means your camera thinks you will take a properly exposed photo. Notice I said “thinks” we will get into that in a second. Adjusting your shutter speed to where your cameras meter is in the negative like -1,-2,-3 means your camera thinks your photo will be underexposed. And vice versa for adjusting your shutter speed to the +1,+2,+3. Your camera thinks your photo will be overexposed.
Why do I say “Thinks” well you need to know how your camera determines what is a “Proper Exposure”. The two opposite ends of the light spectrum are white and black. White is being too bright, or “overexposed”, and black being too dark or “underexposed”. So what’s in the middle? Grey, it’s not too bright or too dark. So the camera thinks “Grey” is properly exposed. When you are taking a photo of something white, like a wedding dress, what your camera will think it is too bright so it will tell you to UNDERexpose the photo. The camera does this because it does not know that a wedding dress should be white so it tell you to darken the photo so much that the white dress is grey. The same goes for a Black tux. Your camera does not know what you are shooting and that a tux should be black. Your camera will tell you to brighten up the photo to make the black tux grey.
So how do you know what the ACTUAL proper exposure is?
I set my meter to 0. Where ever the camera thinks is a proper exposure and take a photo. Then I look at the back of the camera decide if the photo is too bright or too dark, then adjust my shutter speed accordingly.
(see what I mean about having your camera handy before reading this post?)
And thats it! So let’s recap how to shoot manual. Tl;dr
Guestimate Your ISO depending on the available light on the subject you are photographing.
Pick your Aperture depending on how much of your subject you want in focus
Set your Shutter Speed to make a proper exposure according to your camera’s lightmeter.
Adjust. Look at the photo on the back of your camera to determine if you need to change your settings.
Look at that! You are all set to start shooting in manual right away! I know we covered a lot today but if you made it this far you are a champ and clearly take your photography seriously.