008: Exposure Triangle - Bringing it all together

In this episode of the Beginner Photography Podcast, we share tips on how to use the exposure triangle to start taking better photos today. They suggest starting with aperture to set the scene, then adjusting shutter speed depending on whether you have shaky hands, and finally setting the ISO to the correct exposure.
The Big Ideas with Time stamps
00:06:48 Learn manual by experimenting.
00:07:09 Practice and experiment to master photography.
00:19:30 Control exposure with triangle.
00:26:48 Fast shutter speed freezes motion.
00:27:30 Shoot fast and high ISO.
00:40:44 Take photos that make you happy.
00:44:51 Start shooting today!
In this episode you will learn:
How to start and bring together all the pieces of the exposure triangle.
Where to start adjusting when you go out with your camera
When you should start adjusting your aperture first
When you should start adjusting your ISO first
How to decide what is most important in your photograph
Where your eye will go first time you see a photo
How to utilize that psychology to take better photos
How to change your settings for darker conditions
Why you will need to compensate every time you change a setting
Why Newton's 3rd law of motion is important to the Exposure triangle
Why getting a phone call in the middle of a podcast is a bad
When you should be changing your settings for a creative photo
How to set up your camera to freeze a subject
How to have your shutter open longer but keep the same exposure
We share some of our own photos
Bonus Images
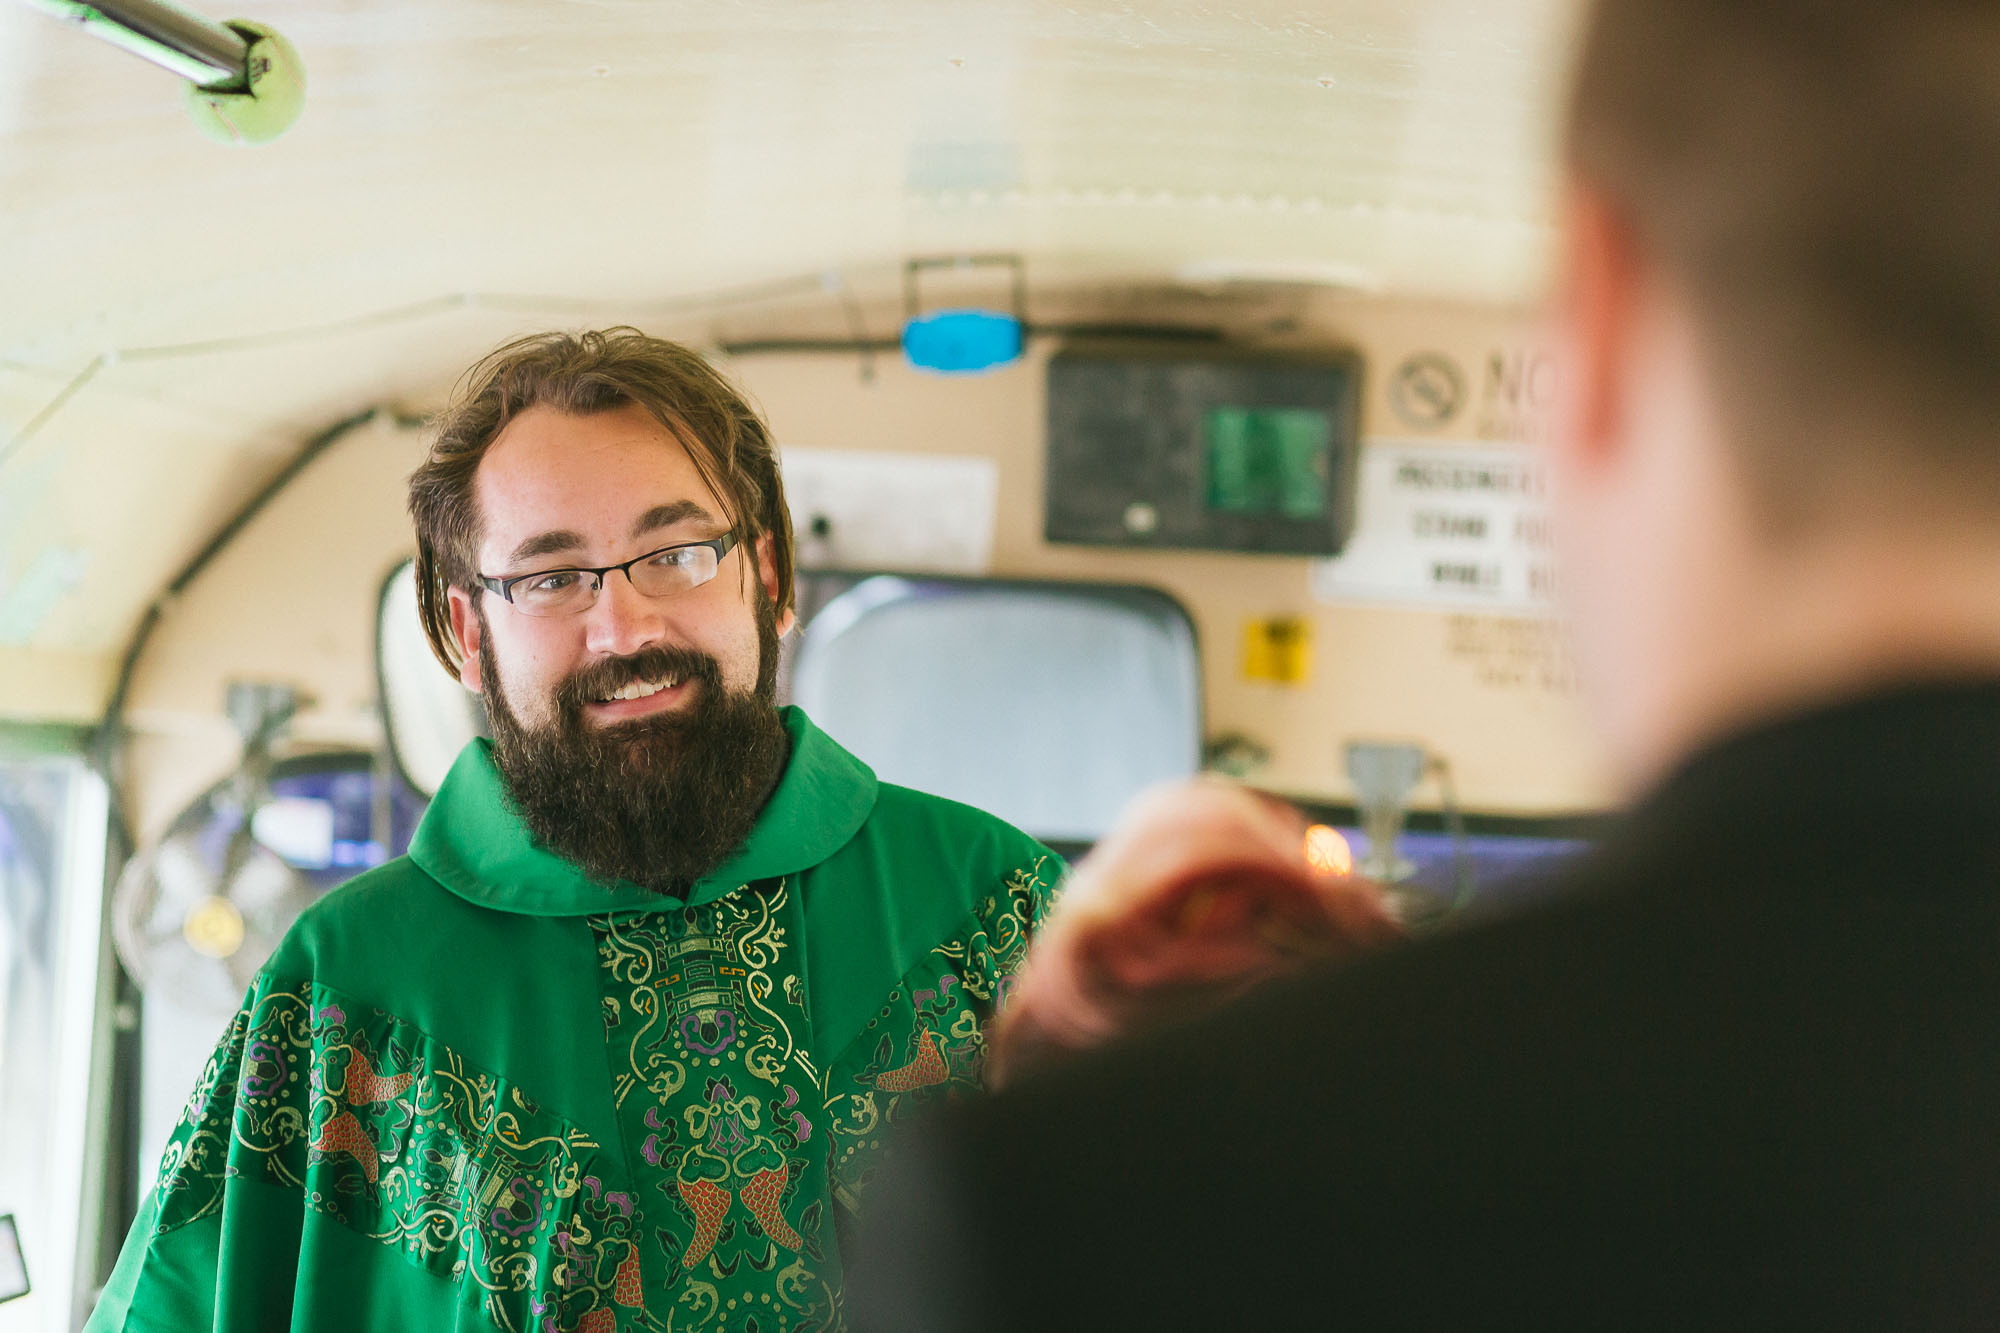
ISO 1600 - for faster shutter speed on a bumpy bus ride

ISO 1600 - To capture more light at night
If you have any questions Feel free to email us today at
BeginnerPhotographyPodcast@gmail.com
Connect with us on Facebook!
www.facebook.com/beginnerphotographypodcast/
Learn by experimenting.
Learning photography can seem daunting, especially with all the technical terms and concepts that come with it. But one of the best ways to learn photography is by experimenting. Experiments allow us to explore different settings and techniques, and to gain experience and confidence in our skills.
The exposure triangle is a key concept in photography, and understanding it is essential for taking great photos. It consists of three elements: aperture, shutter speed, and ISO. Each element affects the exposure of the image in different ways, and learning how to use them together is the key to creating stunning images.
Experimenting with the exposure triangle is a great way to learn the basics of photography. Start by adjusting the aperture and see how it affects the depth of field in your photos. Then adjust the shutter speed to see how it affects the motion blur and other effects. Finally, adjust the ISO to see how it affects the overall brightness and noise level of the image. Taking the time to experiment with different settings and combinations will help you understand how the exposure triangle works and how to adjust it to get the desired effect.
Experimentation doesn’t just apply to the exposure triangle. It can also be used to explore different styles and techniques. Try experimenting with different lenses, angles, and lighting to get different looks. Experimenting with different editing techniques can also help you find the right look for your photos.
Experimentation is also important when it comes to learning how to use your camera. Start by exploring the different modes and settings on your camera. Then, take the time to experiment with different settings and combinations to see what works best for you. This will help you become more familiar with your camera and how to use it to get the best results.
Learning photography can be intimidating, but by experimenting with different settings and techniques, you can quickly become more confident in your skills. Taking the time to experiment with the exposure triangle, different lenses, angles, and lighting, and different editing techniques will help you gain the knowledge and confidence you need to take great photos. So don’t be afraid to experiment and explore – it’s the best way to learn photography.
Adjust exposure triangle for artistry.
One of the most important concepts to understand when learning photography is the exposure triangle. This triangle consists of three settings – ISO, shutter speed, and aperture. Each setting affects the exposure of the photograph, and understanding how to adjust these settings will help you create the desired look for your images.
When adjusting the exposure triangle, it’s important to understand how each setting affects the image. ISO is the camera’s sensitivity to light, and a higher ISO will result in a brighter image. Shutter speed is the length of time the shutter is open, and a faster shutter speed will freeze motion and create sharper images. Aperture is the size of the opening in the lens, and a larger aperture will create a shallow depth of field and blur the background.
Once you understand how each setting affects the exposure, you can use them to create artistry in your photos. For example, if you want to take a portrait and create a shallow depth of field, you would use a larger aperture and a higher shutter speed. This will help isolate the subject and create a beautiful, blurred background. On the other hand, if you want to freeze fast-moving subjects, like race cars or dogs, you would use a faster shutter speed and a lower ISO. This will help you capture the subject in sharp detail and freeze the motion.
Adjusting the exposure triangle is a great way to create artistry in your photos. By understanding how each setting affects the exposure, you can use them to create the desired look for your images. Experimenting with different settings and techniques will help you gain the knowledge and confidence you need to take great photos. So don’t be afraid to experiment and explore – it’s the best way to learn photography.
Control exposure with triangle.
The exposure triangle consists of three settings – aperture, shutter speed, and ISO. Aperture is the size of the hole in the lens that lets light in. A larger aperture will let more light in, resulting in a brighter photo. Shutter speed is the amount of time that the shutter stays open. A faster shutter speed will freeze motion, while a slower shutter speed will blur motion. ISO is the sensitivity of the camera’s sensor to light. A higher ISO will result in a brighter photo, but it can also introduce noise in the image.
To control exposure, you need to balance the settings of the exposure triangle. For example, if you’re shooting a fast-moving subject, you’ll need a faster shutter speed to stop the motion. You’ll also need to adjust the aperture and ISO to make sure the photo isn’t too bright or too dark. If you’re shooting a slow-moving subject, such as a waterfall, you’ll need to use a longer shutter speed to get a silky effect. You’ll also need to adjust the aperture and ISO to make sure the photo isn’t too bright or too dark.
Adjusting the settings of the exposure triangle can be tricky, but it’s something that any photographer can learn. It’s important to remember that each setting affects the others, so you need to be careful when making adjustments. With practice, you’ll be able to adjust the settings to create the desired effect in your photos. So don’t be afraid to experiment and explore – it’s the best way to learn photography.
Freeze fast motion with shutter speed.
One of the most important settings to adjust is the shutter speed. Shutter speed is the length of time that the camera shutter is open, allowing light to enter the camera. It is measured in fractions of a second, and it is used to control how much motion is captured in a photograph. A slow shutter speed will cause motion blur, while a fast shutter speed will “freeze” motion.
To freeze motion, you need to use a shutter speed of at least 1/800th of a second. This will ensure that the motion of the subject is captured in sharp detail. If you’re shooting a subject that is moving quickly, such as a dog, you may need to use a shutter speed of 1/1000th of a second or faster. To achieve this, you’ll need to open up the aperture and bump up the ISO to let in more light.
The other settings of the exposure triangle also play a part in capturing motion. Aperture controls the amount of light that enters the camera, and it also affects the depth of field. A wide aperture will create a shallow depth of field, while a narrow aperture will create a deep depth of field. ISO controls the sensitivity of the camera’s sensor to light. A higher ISO will allow you to use a faster shutter speed, but it will also introduce noise into the image.
Capturing motion with a camera can be a tricky task, but it’s something that any photographer can learn with practice. By understanding the exposure triangle and adjusting the settings accordingly, you can capture motion in sharp detail. With practice, you’ll be able to adjust the settings to create the desired effect in your photos. So don’t be afraid to experiment and explore – it’s the best way to learn photography.
Shoot wide open and high ISO.
One way to achieve sharp motion photos is to shoot wide open and at a high ISO. This means that you’ll be using a wide aperture, such as f/2.8 or wider, and a high ISO, such as 1600 or higher. By shooting wide open, you’ll be able to get the most out of your lens, allowing more light to reach the sensor and creating a shallow depth of field. This will help to blur out the background and create a more pleasing composition. Additionally, shooting at a high ISO will allow you to capture more light, which will help to reduce noise and create a sharper image.
In a podcast by Raymond Yee, he explains how he used this technique to capture a portrait of a dog. He bumped up the ISO to 1600 and shot at f/1.6, which is pretty wide open. By doing this, he was able to keep the shutter speed fast, above 1/800th of a second, and still get enough light on the sensor for a sharp image. He then adjusted the temperature and saturation of the image to make it look more pleasing.
Raymond also shared another example from a wedding he had shot earlier. This time, he was shooting outside at night and was trying to capture stars in the background. To do this, he used a 24mm lens, set the aperture to f/2.8, and the ISO to 2500. He then shot for only 5 seconds, which is much shorter than you’d normally shoot for stars. However, he was able to get the desired effect and adjusted the temperature of the image to make it look more blue.
By shooting wide open and at a high ISO, you can capture motion in sharp detail and create beautiful images. It can be intimidating to adjust the settings, but with practice and experimentation, you’ll be able to create stunning images. So don’t be afraid to try out different settings and explore the possibilities – it’s the best way to learn photography.
Practice to improve photography.
As demonstrated in the podcast, the exposure triangle is a key concept in photography. This triangle consists of the aperture, shutter speed, and ISO. These three elements work together to create the perfect exposure. The aperture controls the amount of light that enters the camera, the shutter speed controls how long the light is exposed, and the ISO controls the sensitivity of the camera to light. All three elements must be balanced in order to get the desired effect.
The podcast also discussed the importance of practice. Practicing different settings and shooting in different lighting conditions will help you become a better photographer. You can practice by shooting in a variety of settings, such as indoors, outdoors, during the day, or at night. This will help you become familiar with the different settings and how they affect the final image.
The podcast also discussed the importance of using the right settings for the right situation. For example, shooting during the day requires a lower ISO, while shooting at night requires a higher ISO. It is important to adjust the settings accordingly to get the best possible image.
Finally, the podcast discussed the importance of experimenting with different settings. Experimenting with different settings can help you learn more about photography and improve your skills. Don’t be afraid to try something new – you never know what you might discover.
In conclusion, practice is the best way to improve your photography skills. By experimenting with different settings and shooting in different lighting conditions, you can learn more about photography and create stunning images. So don’t be afraid to try something new – you never know what you might discover.
Start shooting now.
As an amateur photographer, it can be intimidating to start shooting. However, with the right tools and knowledge, you can start taking amazing photos. The exposure triangle is a great place to start, as it will help you understand the basics of photography. The exposure triangle is made up of three elements – aperture, shutter speed and ISO – which all work together to create a well-exposed image. By understanding how these three elements interact, you can start to take better photos.
Another great way to improve your photography skills is to get feedback from others. Reach out to photographers in your area or online and ask for their advice. You can also join forums and photography groups to get feedback from other photographers. This can help you learn more about photography and get tips on how to improve your photos.
Finally, don’t be afraid to experiment. Try different settings and shooting in different lighting conditions. This will help you learn more about photography and create stunning images. You can also share your photos with others to get feedback and advice.
So don’t be afraid to start shooting now. With the right tools and knowledge, you can take amazing photos. Experiment, get feedback from others, and have fun!